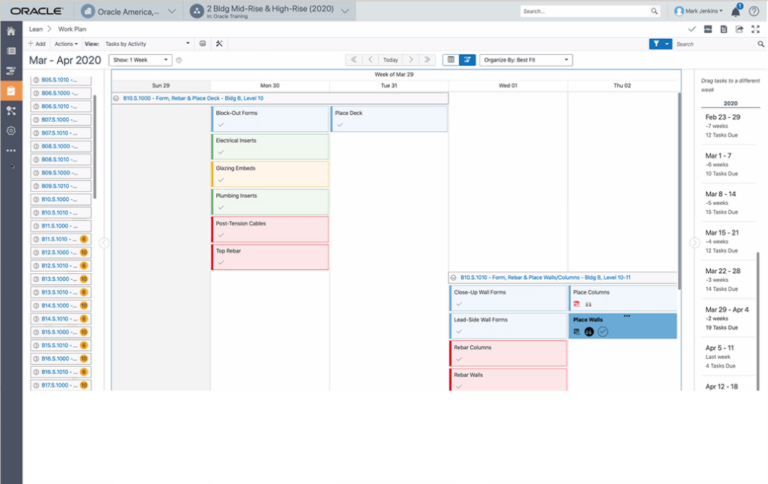
Look-aheads are created to give decision makers a means of monitoring upcoming tasks. This guide serves as a method to create a look-ahead but is by no means the only way. For this look-ahead, we will create the following:
- A new Date Zone – so that we can zoom in/out on tasks that are within the look-ahead
- Create Shading to highlight upcoming tasks
- Create a optional Filter to hide tasks that do not fall within the look-ahead
Each item created will be in reference to the report date. For example, show all tasks that are between the report date and the report date plus 6 weeks.
Understanding the Report Date
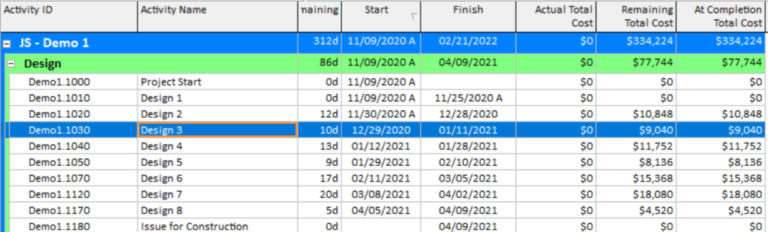
Once the project is underway, progress should be recorded at regular intervals. The interval separates what has been completed (Actual Duration) from what remains to be completed (Remaining Duration). The line between is called the Report Date and is the foundation of how Look-aheads are created.
The screenshot below shows a project that has not been started. At this point, the project only shows Remaining Duration.

As the project starts, the Report Date is incremented and Actual Duration / Remaining Duration are now shown.

Creating a 2nd Date Zone
With the understanding that the Report Date is incrementally being moved, users can create a 2nd Date Zone that moves with the report date.
- Right Click the Date Zone and select Properties

- Select the Dates / Scales tab

- Under Zone, check the box for Zone 2

- We do not want to create the 2nd date zone over; rather, we want to automate this function.
- In the Start Date dropdown, select click to select variable date.

b. In the dropdown, select Current Progress period date (cp). We care currently telling Powerproject to start a new date zone at the Progress Date.

c. Under Start Date, which now reads Current Progress Period Date, add +6w (6 weeks) to the end so that it now reads, “Current Progress Period Date +6w”.

- Select Close

A second Date Zone has now been created that is 6 weeks beyond the report date of the project. You can expand / contract as needed.

Create Shading
- Right Click the Date Zone and select Properties
- Select the Shading tab

- Select Add. The first shade will be shown

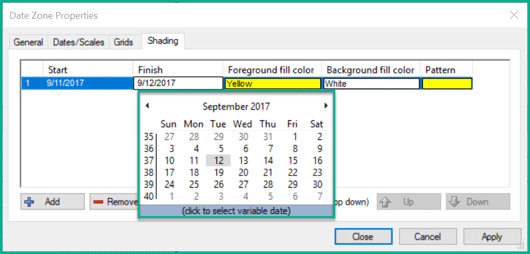
- To establish where the start of the shading will be, under Start:
- Select the currently shown date and a calendar window will be shown.

b. In the calendar window, select click to select variable date.

c. In the dropdown, select Current progress period date (cp)

- d. Under Finish Date, which now reads Current Progress Period Date, add +6w (6 weeks) to the end so that it now reads, “Current Progress Period Date +6w”.

b. In the calendar window, select click to select variable date.

c. In the dropdown, select Current progress period date (cp)

d. Under Finish Date, which now reads Current Progress Period Date, add +6w (6 weeks) to the end so that it now reads, “Current Progress Period Date +6w”.

- Select Close

Shading is now created that will highlight an area between the Current Progress date and 6 weeks out from that point.

Create Filters (as needed)
In larger schedules, users may want to create a filter to narrow down the tasks that are shown within the Look-Ahead
- Select the View Tab

- On the ribbon, select Filter / New and the new filter window will appear

- Provide a Name for your filter (i.e. 6 Week Lookahead)

- Select Display on Menu (so the filter shows in the dropdown from the ribbon)

- Select Edit, the Task or Allocation Types window will appear
- By default, Specific task types is selected
- Confirm Tasks is selected because we want to let this activity type pass the filter
- Confirm Milestones is selected because we want to let this activity type pass the filter
- Select Summary tasks IF you want the major headings (Hierarchies) to pass the filter

- Select Next

- In the Filter Areas, select Time Slice – Date Range

- In the Time Slice – Date Range window:
- For Time slice start date, select the dropdown and select click to select variable date

b. Select Current Progress Period Date (cp)

c. For Time slice finish date, select the dropdown and select click to select variable date

d. Select Current Progress Period Date (cp)

e. Under Finish Date, which now reads Current Progress Period Date, add +6w (6 weeks) to the end so that it now reads, “Current Progress Period Date +6w”.

f. Select Any item within the time slice so that we capture all tasks between the Current Progress Period and 6 weeks out from that point.

g. Select Next

- In the summary window, select Finish

- Select OK to close the filter window

- A filter is now applied showing any task that starts or finishes within the Time Slice.